How to Season Cast Iron (Step-by-Step)
Cast iron cookware is legendary for its durability, heat retention, and ability to develop a naturally nonstick surface over time. That nonstick surface doesn't come from a factory coating — it comes from seasoning: a layer of polymerized oil bonded to the iron. Whether you've just bought a new skillet or rescued a rusty pan from a garage sale, this guide will walk you through exactly how to season cast iron properly.
What Is Seasoning, Exactly?
Seasoning is not "oil sitting on the pan." When you heat thin layers of oil past their smoke point, the oil undergoes a chemical change called polymerization. The molecules bond together and fuse to the iron, creating a hard, smooth, protective layer.
This layer does three things:
-
Prevents rust by sealing the iron from moisture
-
Creates a nonstick surface that improves with every use
-
Adds flavor over time as it builds up
What You'll Need
-
Cast iron cookware (new, used, or rusty)
-
Oil with a high smoke point — flaxseed, grapeseed, canola, vegetable, or shortening all work well
-
Paper towels or a lint-free cloth
-
Oven
-
Aluminum foil (to catch drips)
-
Oven mitts
-
Steel wool or a stiff brush (only if restoring a rusty pan)
Avoid: butter, olive oil (extra virgin), or bacon grease for the initial seasoning — they burn unevenly at high heat.
Step 1: Wash and Dry the Pan
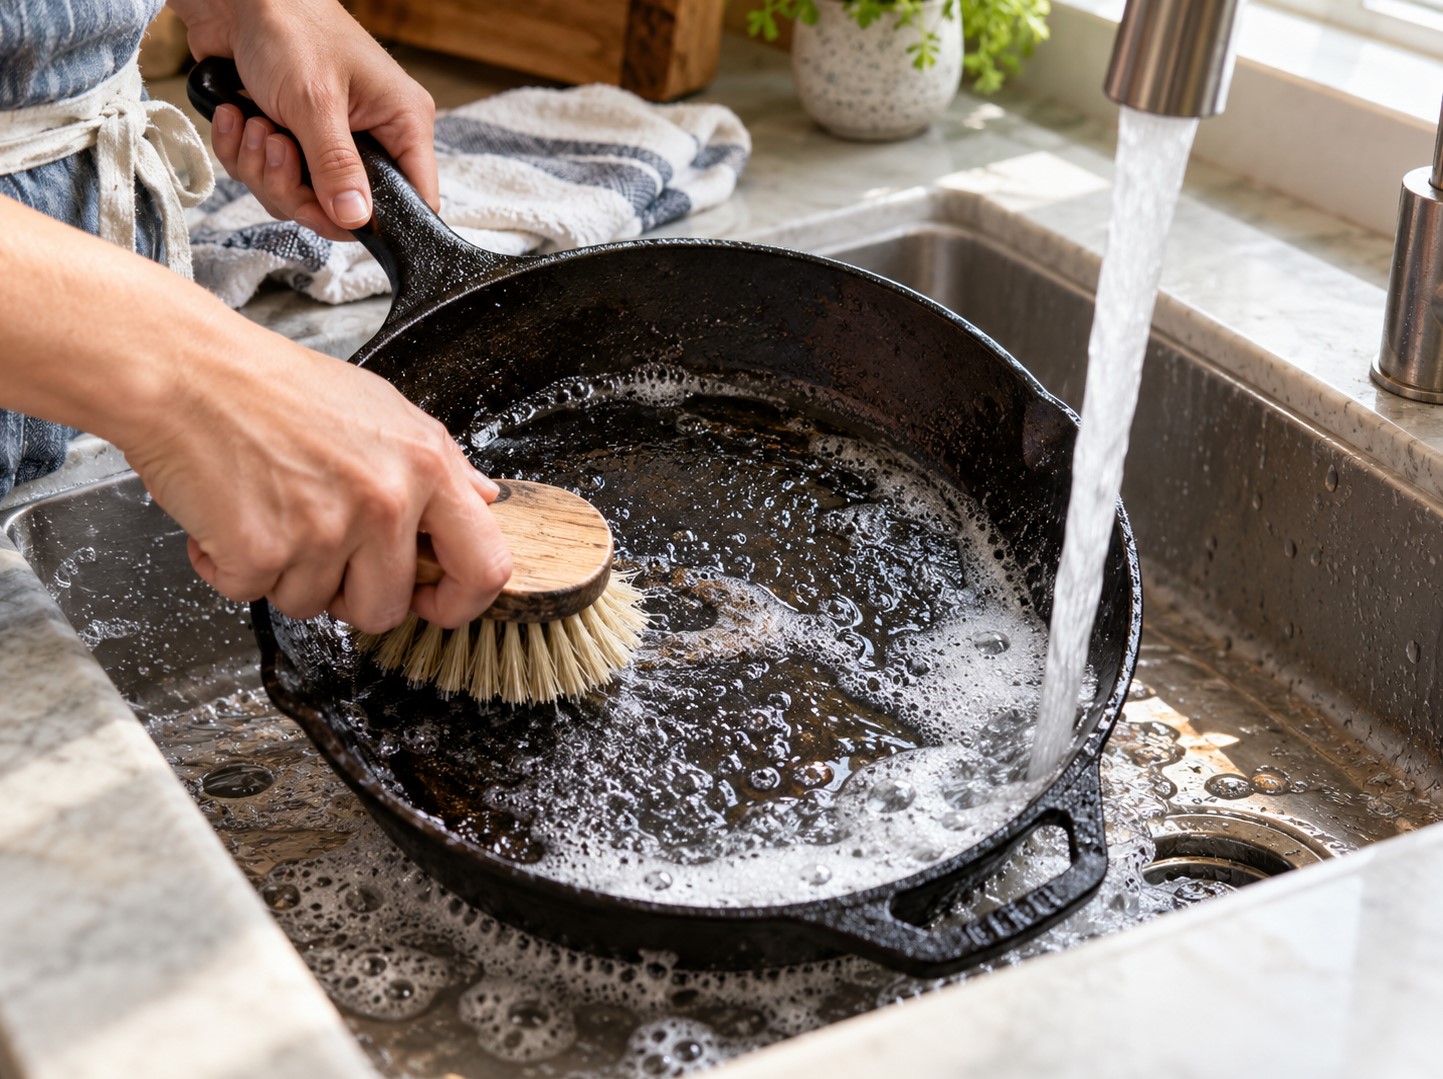
New cast iron often ships with a protective wax coating. Scrub it off with hot water and a little mild soap. Yes — soap is fine for a new pan or a full re-season. Modern dish soap won't damage an established seasoning, and you need a clean surface for the oil to bond.
Rinse thoroughly, then dry immediately with a towel. Place it on the stove over low heat for a few minutes to evaporate any remaining moisture.
Rusty pan? Scrub it down to bare iron with steel wool or sandpaper, wash, and dry before continuing.
Step 2: Apply a Thin Layer of Oil
This is the step most people get wrong. Thin is everything.
-
Pour about a teaspoon of oil onto the pan.
-
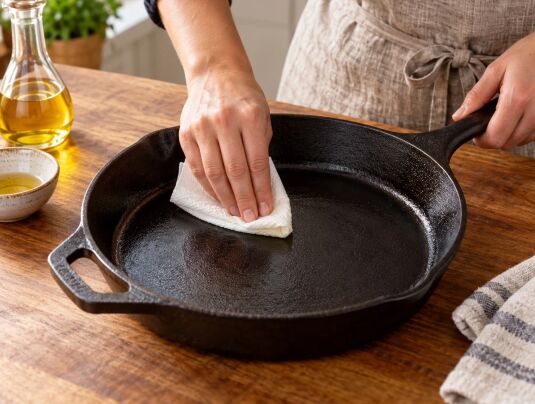
Rub it over the entire surface — inside, outside, handle, and the bottom.
-
Now take a clean paper towel and wipe it all off as if you made a mistake.
The pan should look almost dry, not shiny. If it looks greasy, you've used too much, and it will turn sticky and blotchy in the oven.
Step 3: Bake It Upside Down
-
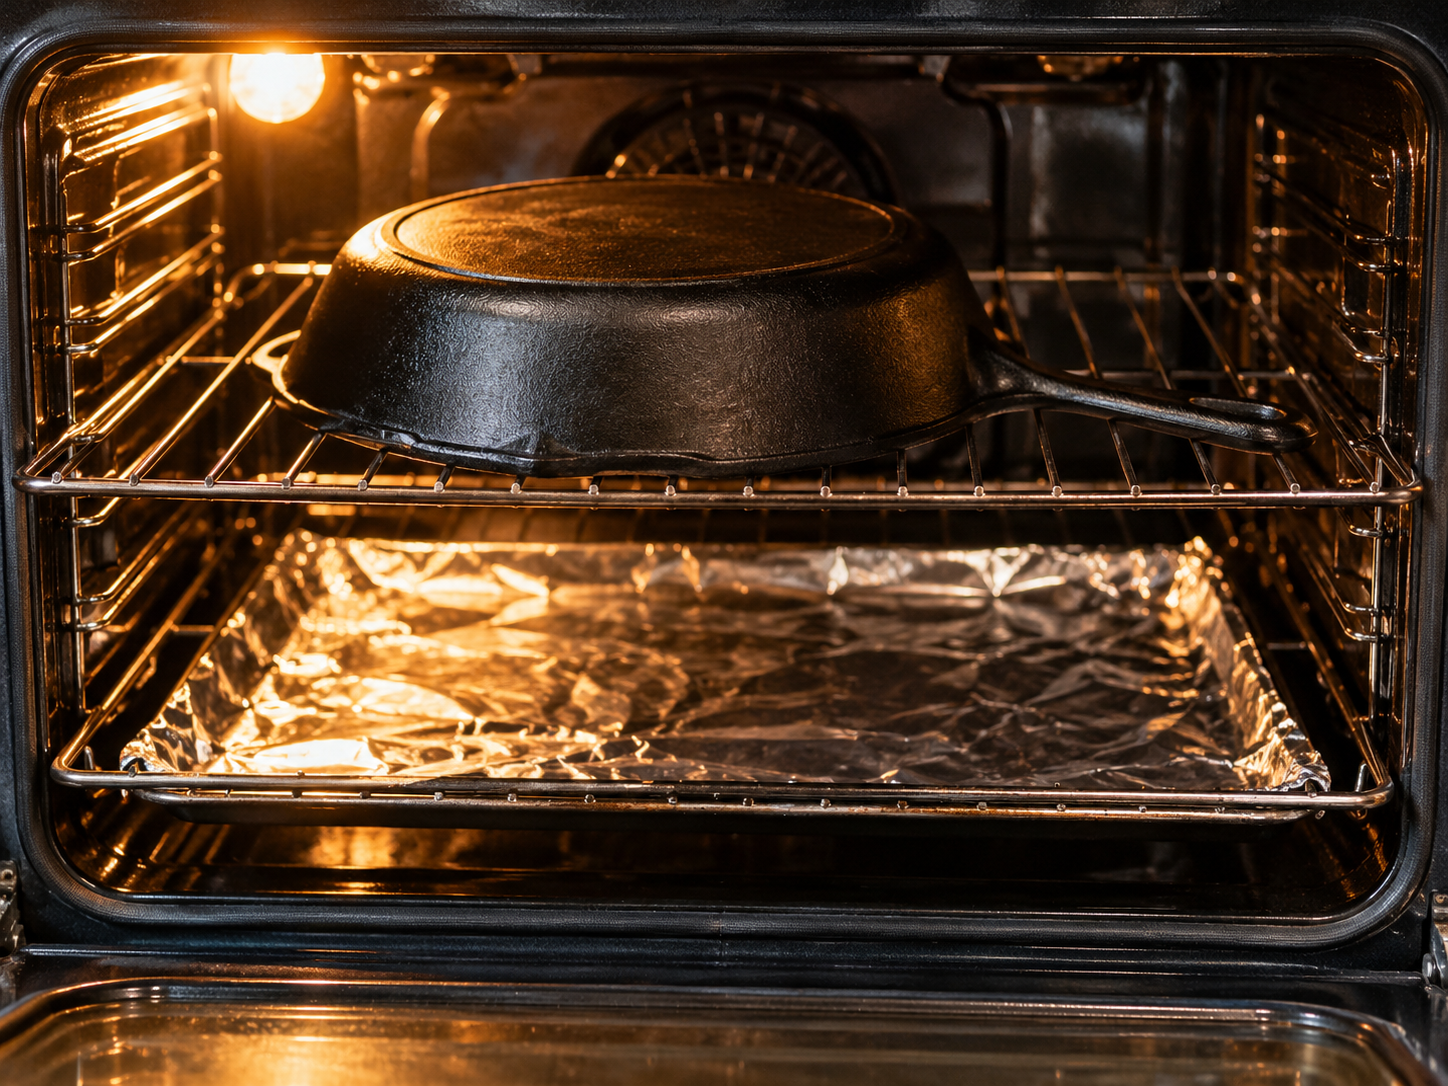
Preheat your oven to 450–500°F (230–260°C).
-
Line the bottom rack with aluminum foil to catch drips.
-
Place the pan upside down on the upper rack so excess oil drains off instead of pooling.
-
Bake for 1 hour.
Your kitchen may smoke a little — that's normal. Open a window or turn on the vent.
Step 4: Cool and Repeat
Turn off the oven and let the pan cool completely inside it. This slow cooling helps the seasoning set.
For a strong base layer, repeat the oil-and-bake process 2–3 times. One round is enough for a touch-up; three rounds gives you a solid, dark, semi-glossy finish.
Step 5: Test and Store
Once cooled, your pan is ready to use. Store it in a dry place. If you stack pans, place a paper towel or pan protector between them to prevent scratching.
How to Maintain Your Seasoning
Seasoning isn't permanent — it's a living layer that needs care.
-
Cook with it often. Frying, searing, and baking build seasoning naturally.
-
Clean with hot water and a stiff brush while the pan is still warm. Soap is okay in moderation.
-
Dry on the stove over low heat, then rub in a few drops of oil.
-
Avoid simmering acidic foods (tomato sauce, vinegar) for long periods until your seasoning is well established.
-
Skip the dishwasher. Always.
Quick Fixes for Common Problems
| Problem | Cause | Fix |
|---|---|---|
| Sticky, gummy surface | Too much oil | Scrub with hot water and steel wool, re-season with thin layers |
| Flaking seasoning | Oil applied too thick | Strip and start over |
| Rust spots | Moisture left on pan | Scrub rust off, wash, dry, re-season |
| Food sticking | Weak or uneven seasoning | Cook more fatty foods; add a layer or two of seasoning |
| Dull gray spots | Worn seasoning | Rub with oil and heat on the stove |
Frequently Asked Questions
How often do I need to season my cast iron?
Only when needed. A well-used pan may go months or years without a full re-season. Touch it up whenever it looks dull, dry, or food starts sticking.
Can I use soap on cast iron?
Yes. Modern dish soap is mild and won't strip a properly bonded seasoning. Just don't soak the pan.
What's the best oil for seasoning?
Flaxseed oil creates the hardest finish but can flake. Grapeseed, canola, and vegetable oil are reliable all-rounders.
Does seasoning take a long time?
The process takes about an hour per round, but most of that is hands-off oven time.
The Bottom Line
Seasoning cast iron isn't complicated — it just rewards patience and a light hand with the oil. Clean it, oil it thinly, bake it hot, and repeat. Do that a few times, cook with it regularly, and you'll have a pan that outperforms anything nonstick and lasts for generations.
Ready to get started? Browse our cast iron collection and find your next lifelong kitchen companion.
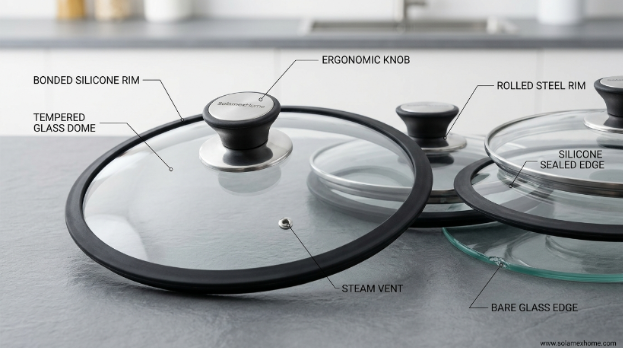
Why a Good Lid Matters? - The Key to Better Flavor & Faster Cooking!